Downsizing My Home Lab: Building a Custom 10" Rack


In this project I will be condesing all of my servers and network equipment into a new form factor for racks that is 10" wide. I first heard about this from Jeff Geerling (here)
I was in the process of moving when I realized just how much wasted space there was when using my old half rack.
On top of that, I’ve always liked designs that are space efficient, so the idea of building something smaller but equally capable was appealing.
Designing the rack in CAD was a project in itself. I wanted to keep the design simple but ensure that every feature had a reason to exist. Strength was critical since I planned to print the frame in as few pieces as possible. Each iteration of the design took about 30 hours to print. It was a long process, but the result was a functional, strong rack that fit the vision I had.
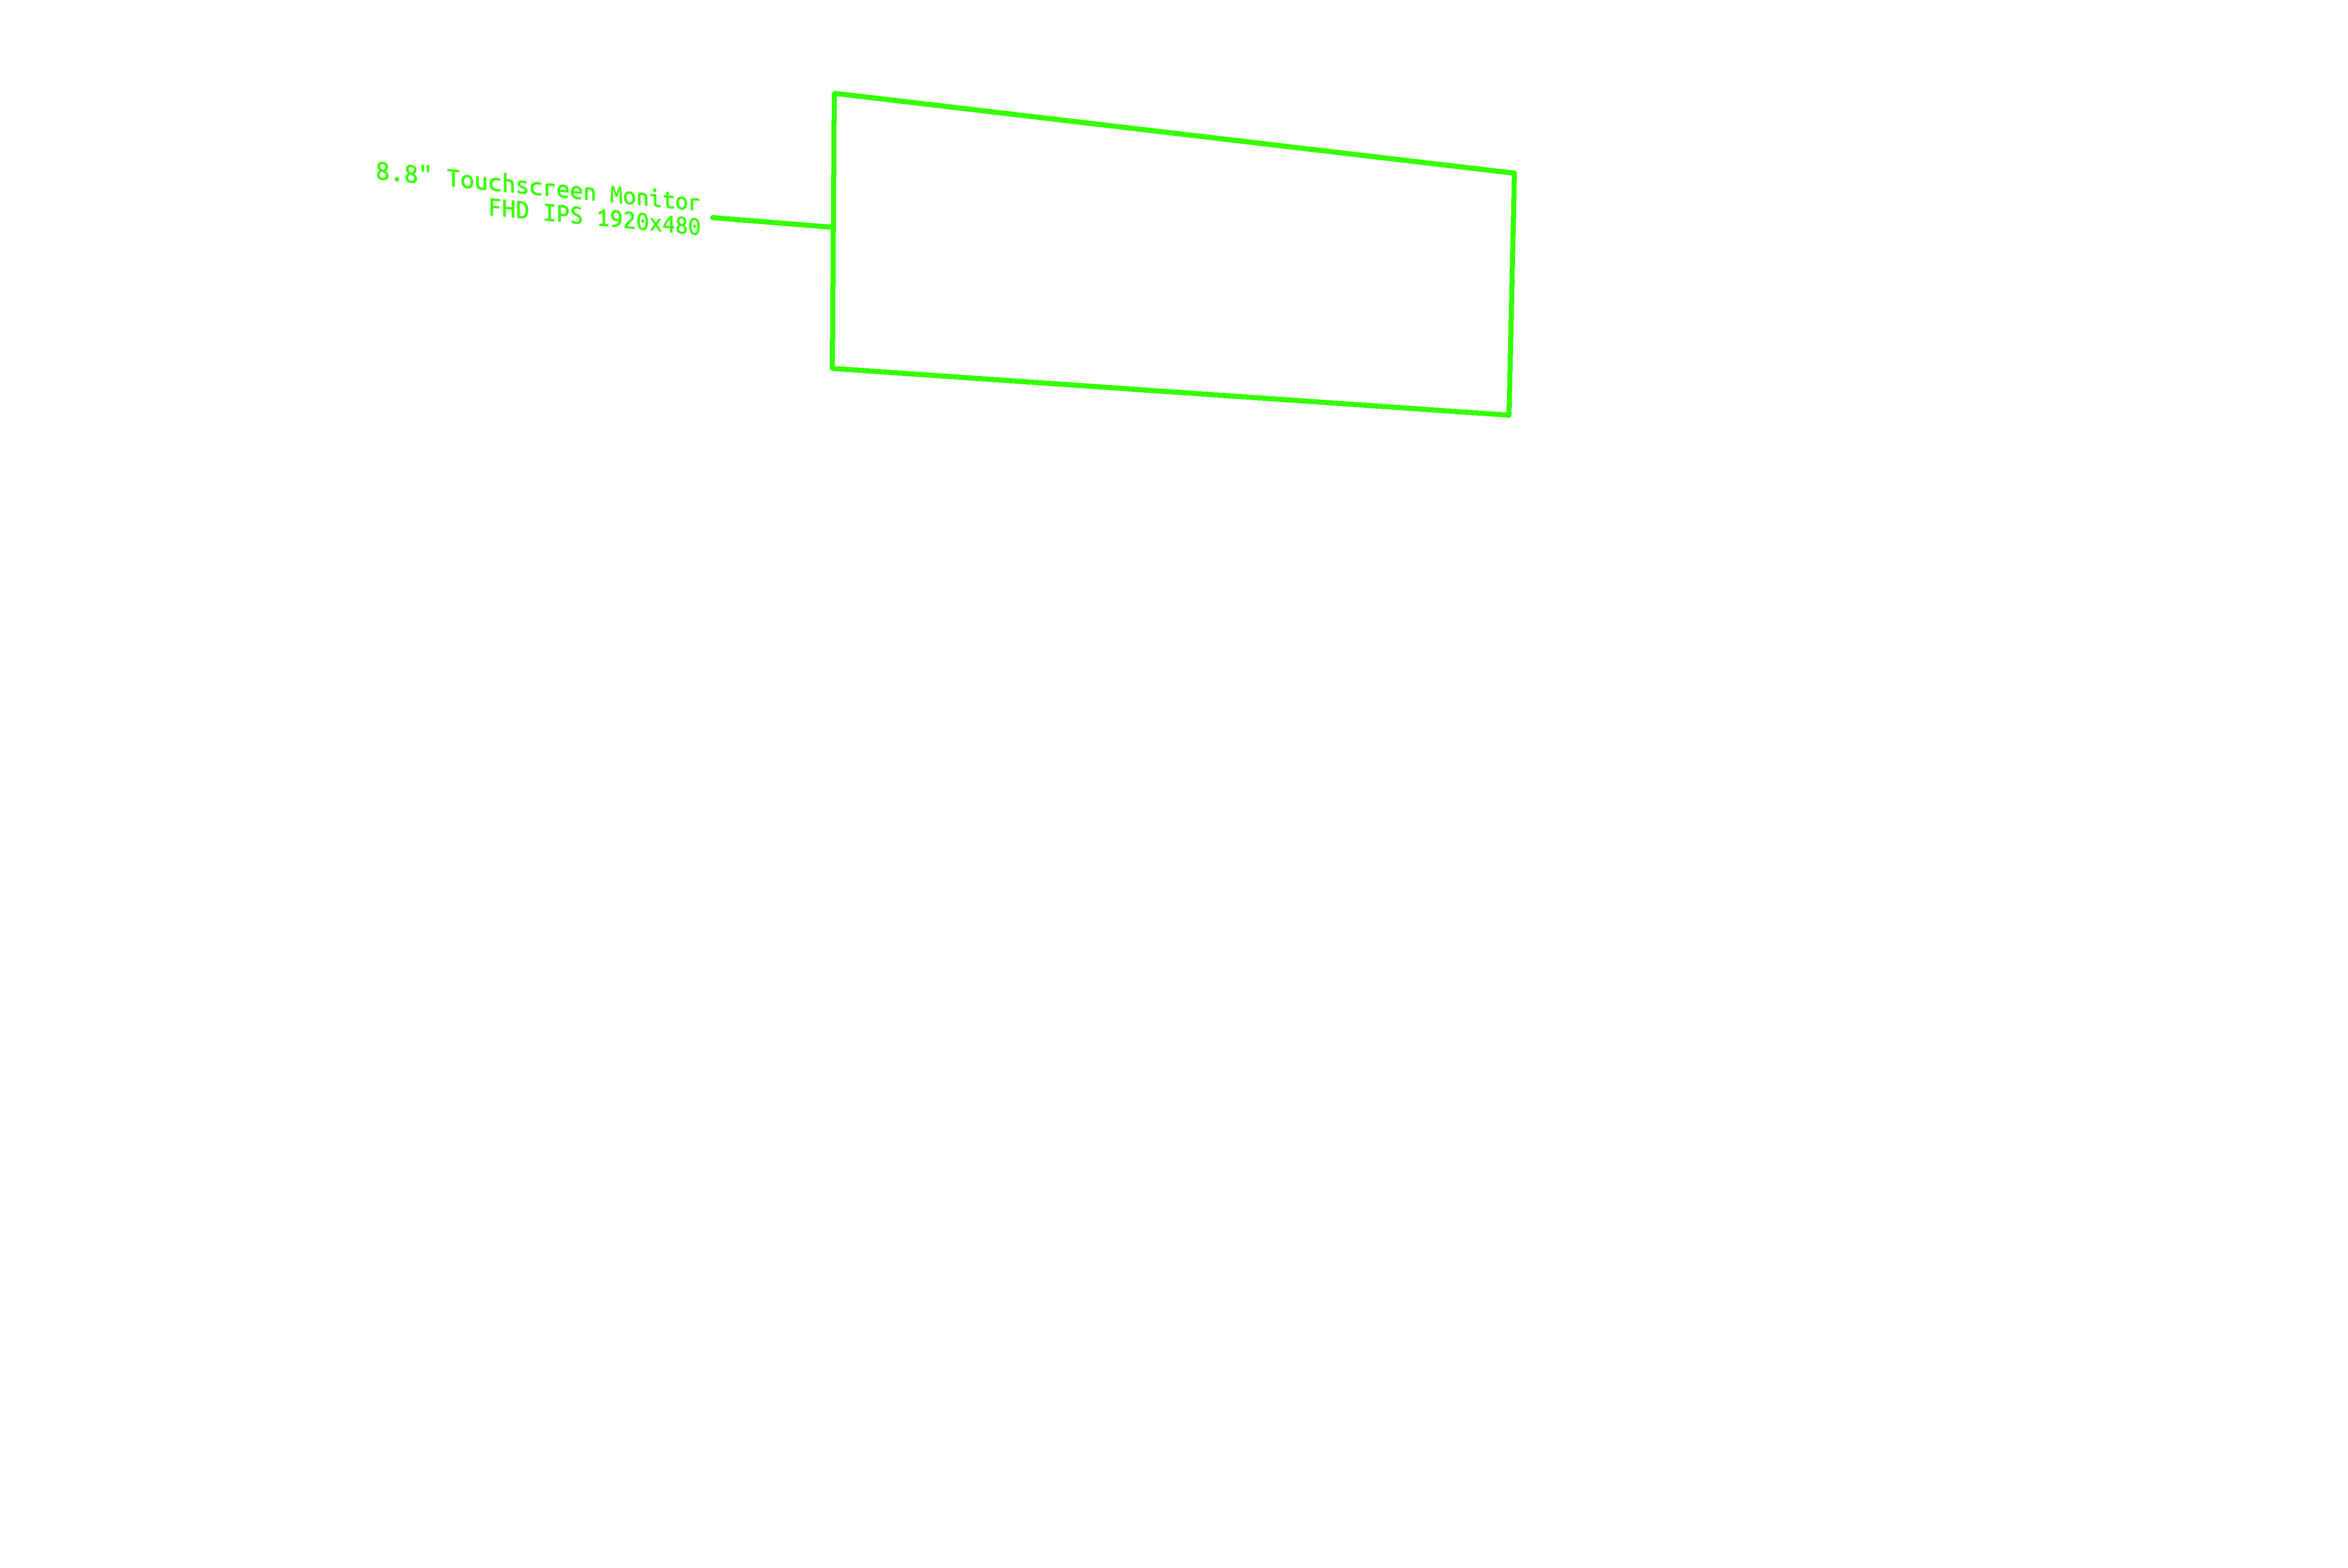
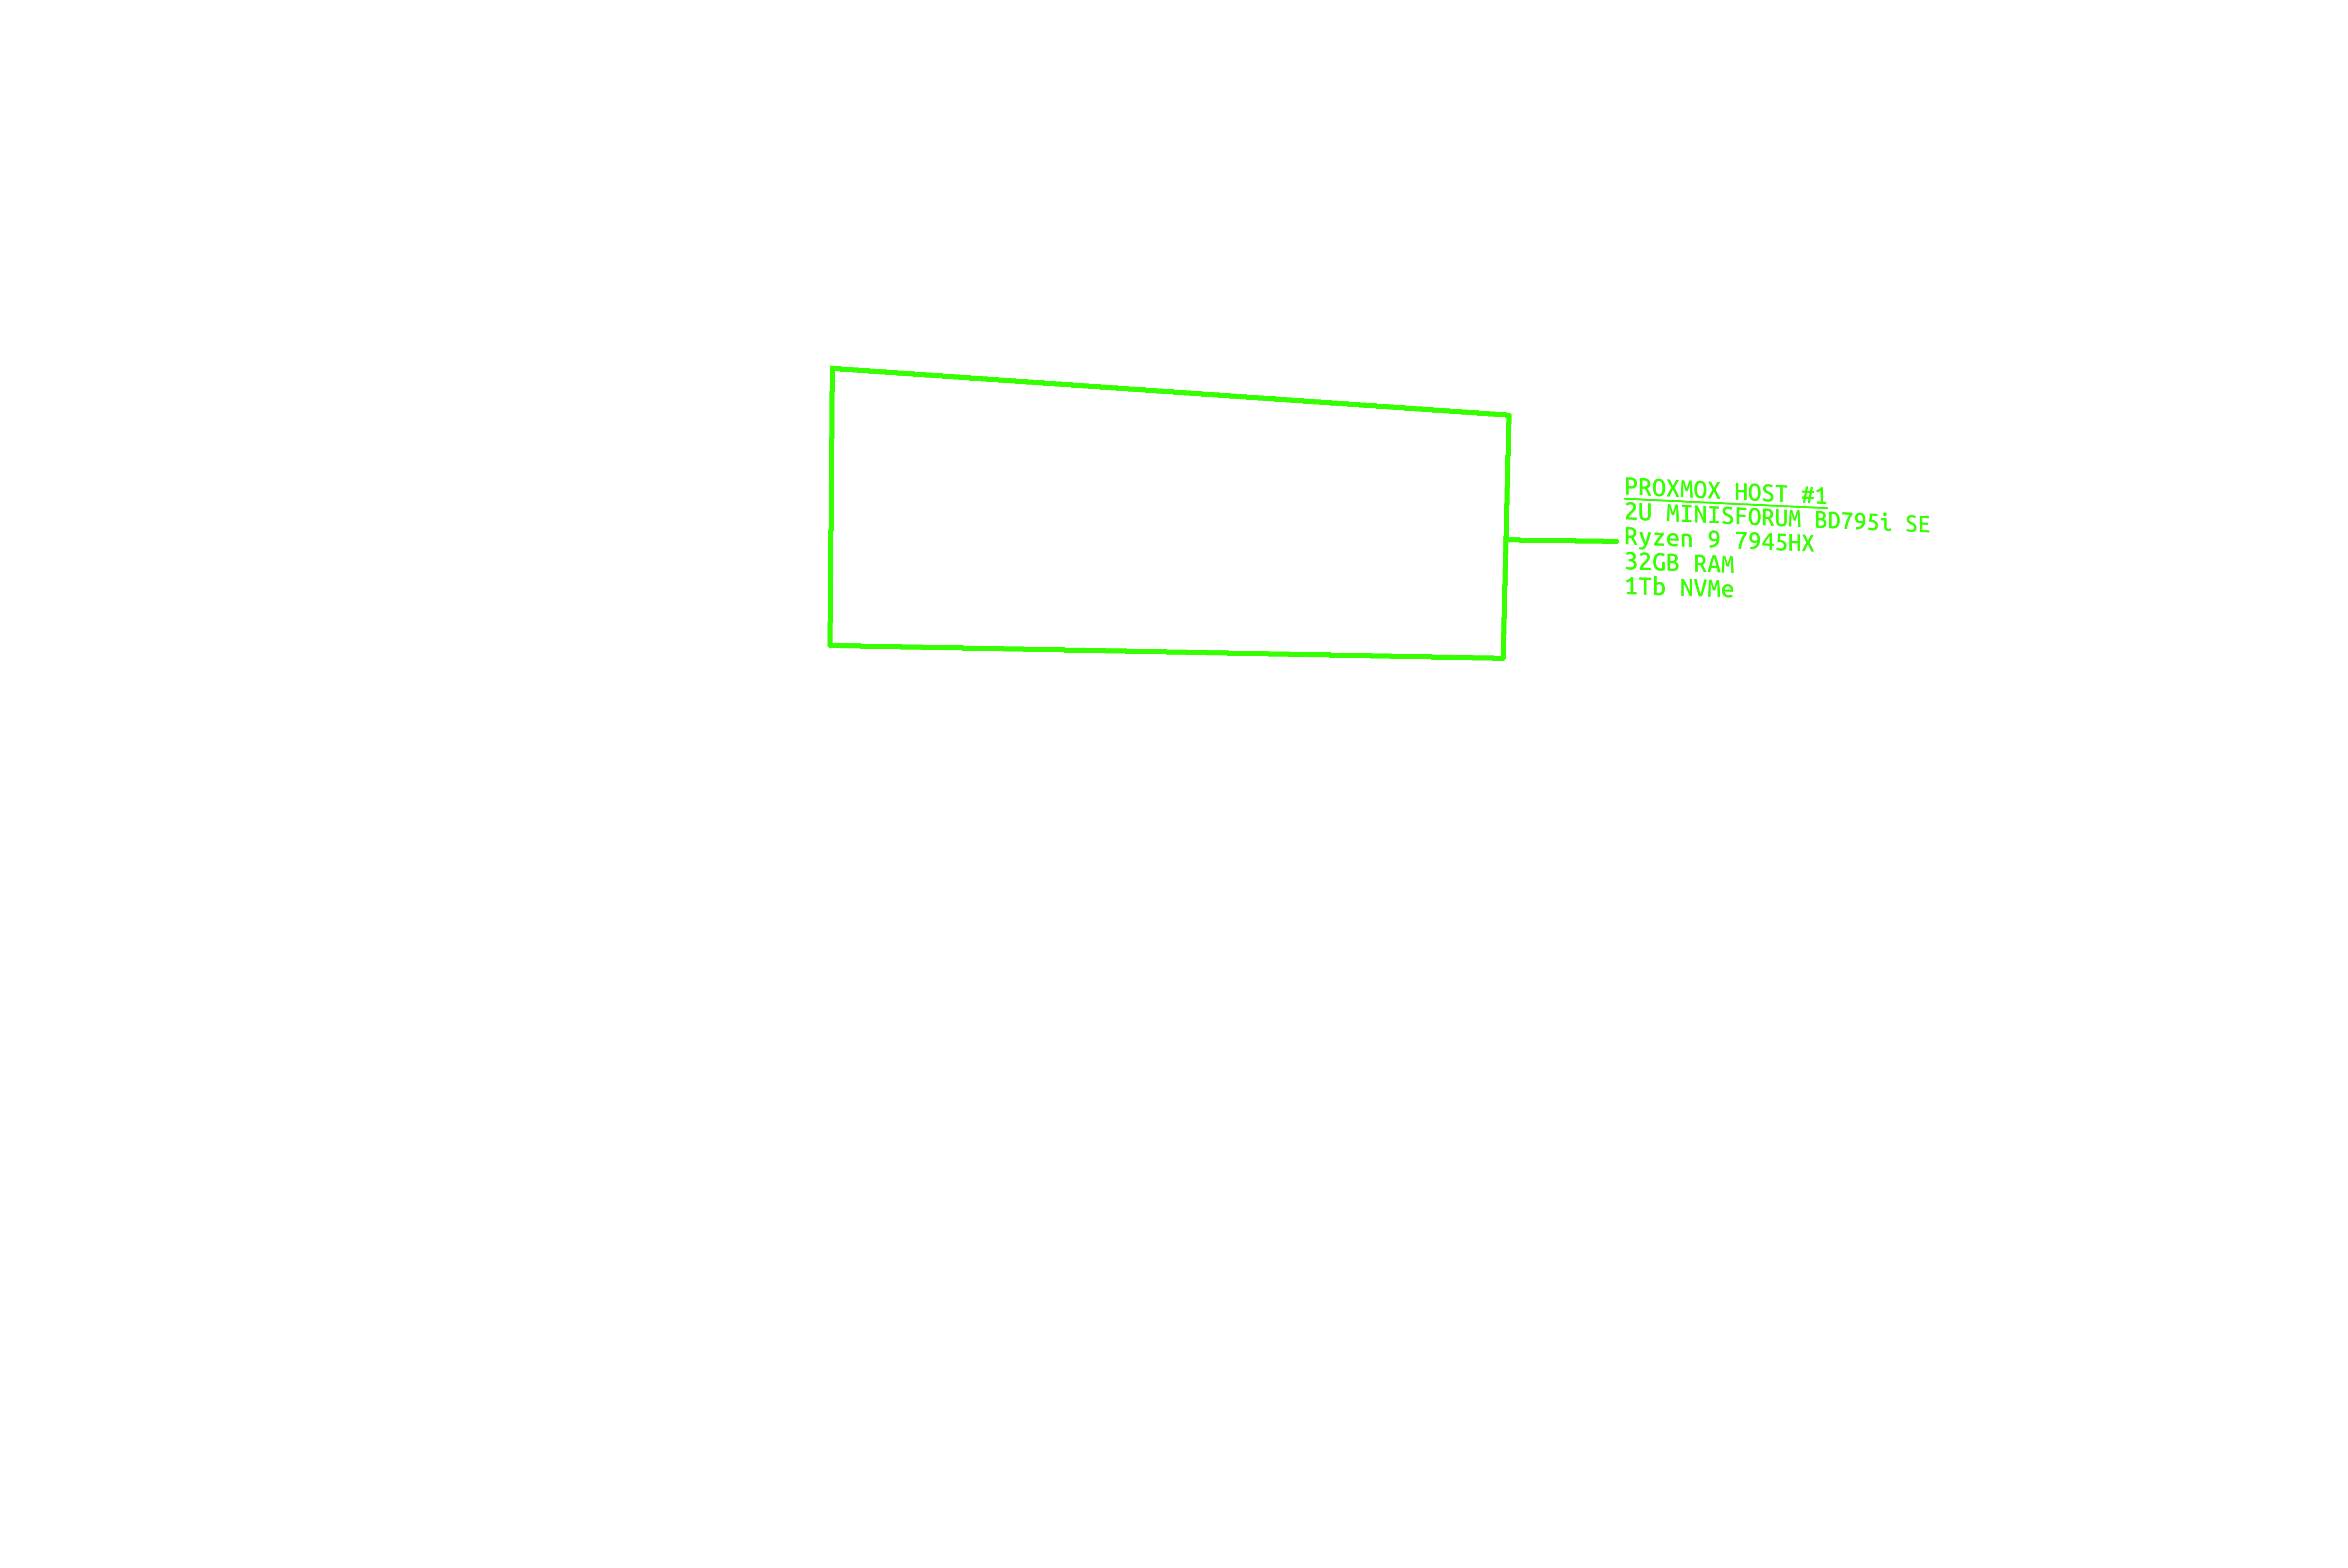
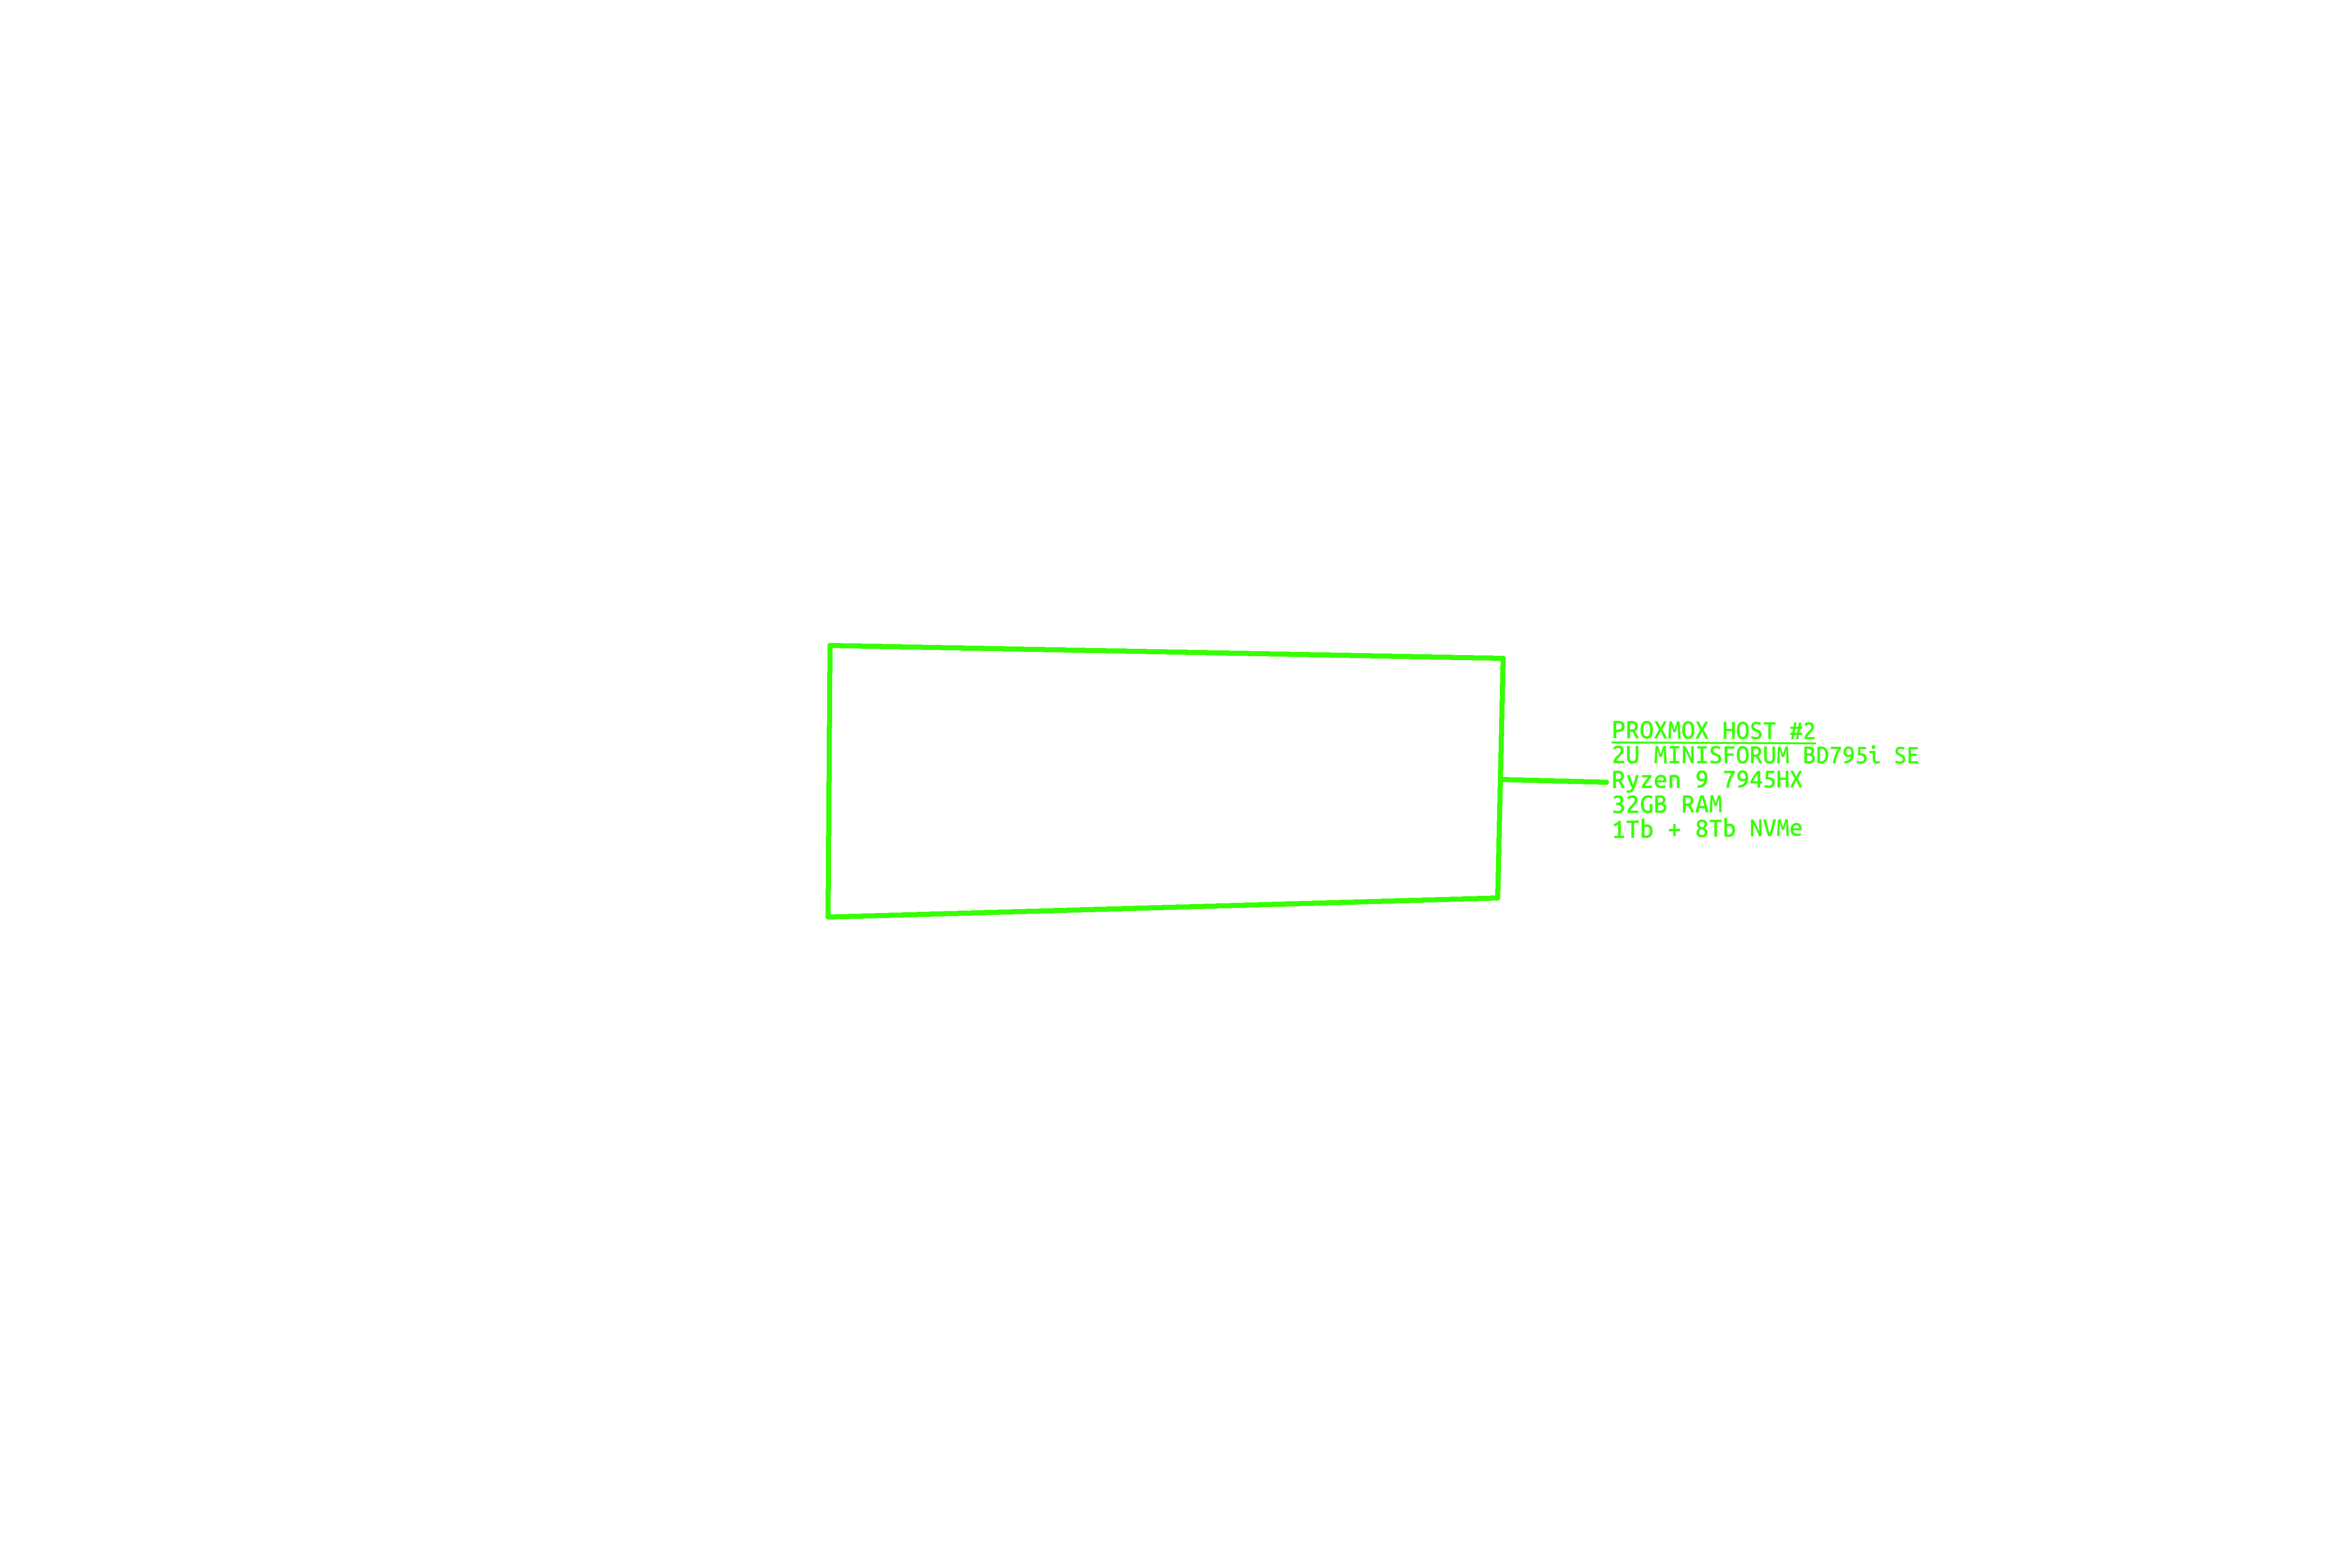
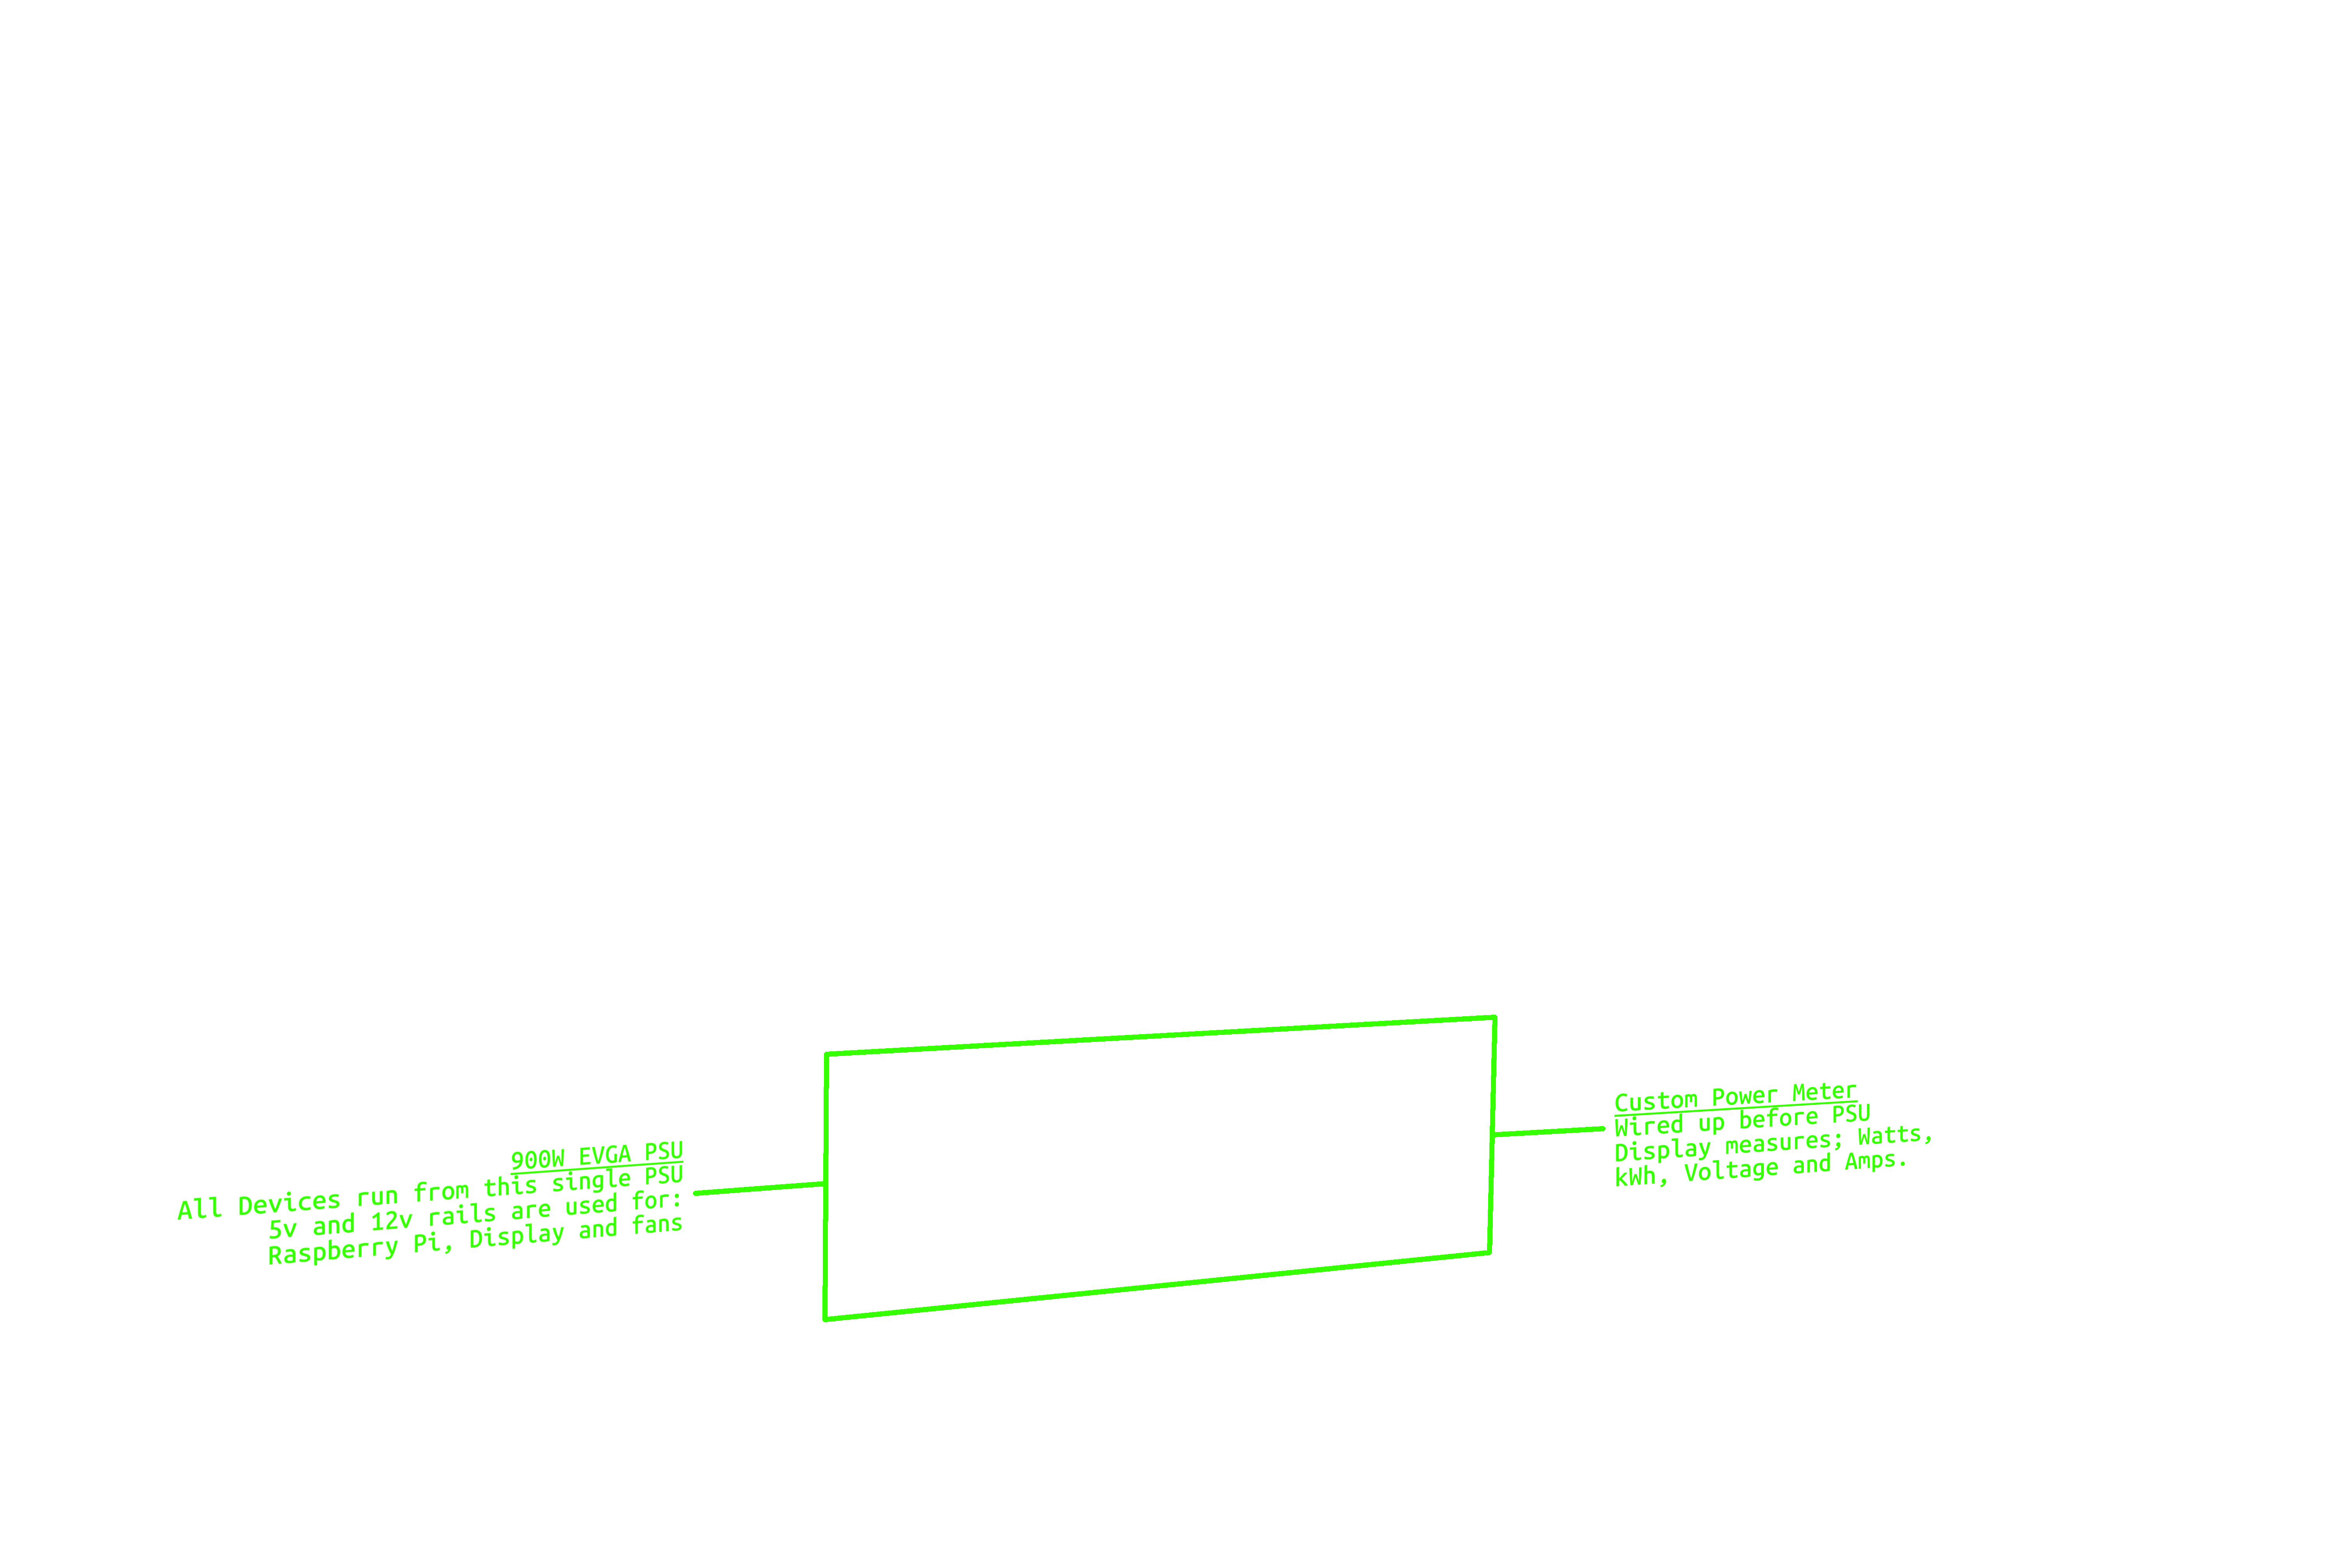
For the servers themselves, I needed something ITX-sized to fit into the compact form factor. I chose the MINISFORUM BD795i SE Mini ITX board, powered by an AMD Ryzen 9 7945HX, with built-in 2.5Gb networking — all for under $400. While the board doesn’t have SATA ports, I didn’t need them since I committed fully to NVMe for both my boot drives and shared storage. The all-SSD setup not only fit perfectly into the design but also cut down on noise, heat, and power usage.
Compared to the old setup, the new rack has been a huge improvement. It’s quieter, runs cooler, and is much more energy efficient. Portability is another bonus — with handles built into the rack and cables neatly contained, moving it is no longer a dreaded chore. If I had to give advice to anyone considering a project like this, I’d say be prepared for custom work. Every mounting solution will either need to be designed yourself or purchased through pricey third-party options. That said, the benefits far outweigh the costs once you see everything working together in such a compact and efficient form. For me, this was both a practical upgrade and a fun maker challenge. There’s still more to do — like adding a UPS, finishing the 3D-printed side panels, expanding the cluster, and incorporating IPKVM capabilities. But even now, I see this project as one of the most rewarding parts of my home lab journey.